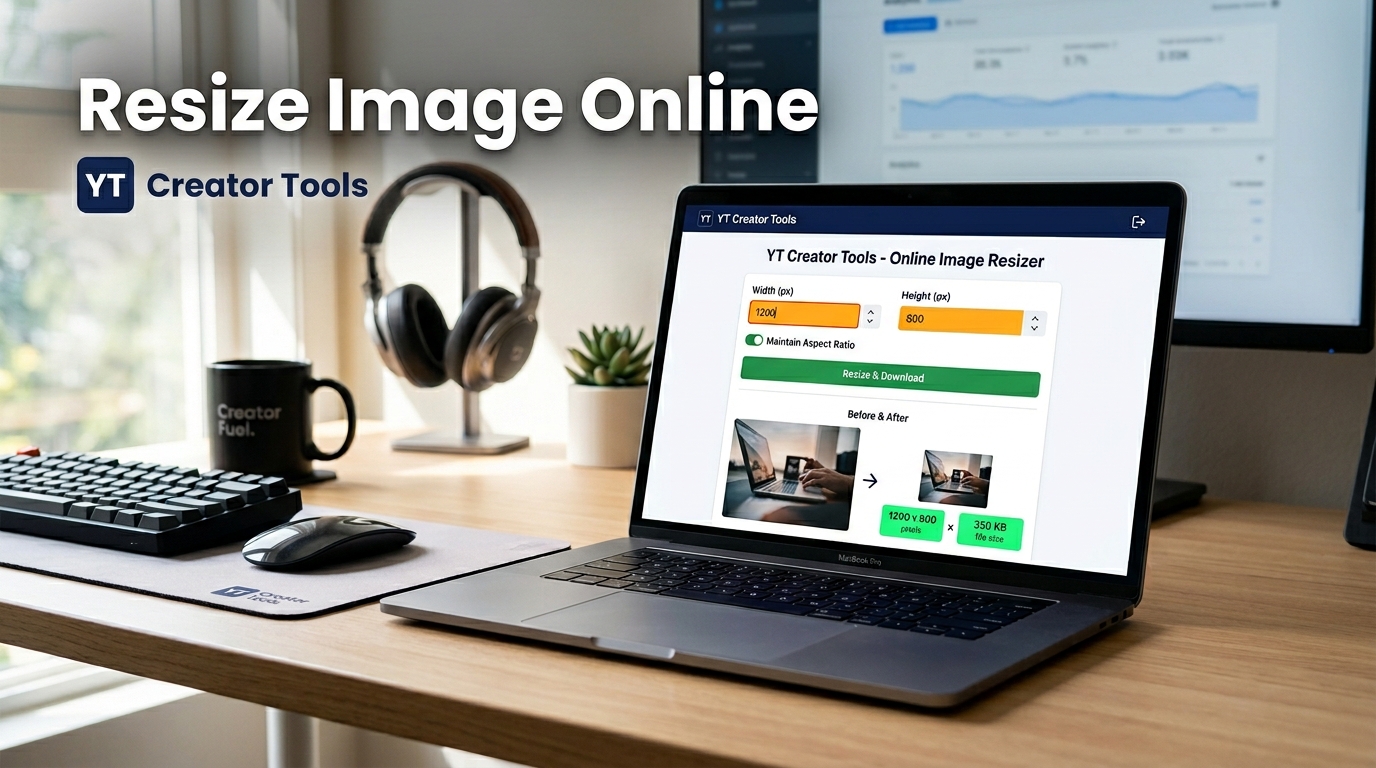
Knowing how to resize an image online is one of those basic skills that saves time again and again. Whether you are preparing a YouTube thumbnail, a product photo, a blog image, or a social media graphic, the wrong size can create problems fast. The image may upload slowly, look blurry, appear cropped, or break the layout completely.
The good news is that resizing an image online is simple when you understand what actually needs to change. In most cases, you are adjusting the dimensions of the image so it fits a specific platform, page, or design without creating unnecessary quality loss.
What resizing an image really means
When people say they want to resize an image, they usually mean one of two things. They want to change the pixel dimensions, or they want to reduce the visual size and file weight for a specific use case. Those goals are related, but not identical.
- Dimensions control how wide and tall the image is.
- Resolution affects how detailed the image can appear in certain contexts.
- File size affects loading speed, upload limits, and page performance.
If you only change one of those without considering the others, the result may not be ideal. That is why a practical online resizer is useful. It helps you quickly adjust the image for the exact purpose you have in mind.
Why people resize images online
There are plenty of common reasons. A website may need a lighter image to load faster. A store listing may require exact dimensions. A YouTube thumbnail might need a very specific size to display correctly. And a blog image may need to fit a layout without pushing text out of place.
Online resizing is popular because it removes friction. You do not need to open heavy desktop software for every small adjustment. You can upload the image, set the size you need, and export a version that is ready to use.
If your main goal is platform-ready dimensions, a dedicated image resize tool makes the process faster than editing manually every time.
How to resize an image online without ruining it
The biggest mistake is shrinking or enlarging an image without thinking about the final destination. A good workflow starts with one question: where will this image be used? The answer determines the size, aspect ratio, and acceptable quality level.
For example, a thumbnail, a blog hero image, and a marketplace product photo all need different handling. Once you know the destination, the actual process becomes simple.
- Upload the original image.
- Enter the new width and height, or choose a preset.
- Keep the proportions locked when needed.
- Export in the format that fits the job best.
- Check the final image before publishing.
That last step matters more than many people think. A technically correct size can still look soft, stretched, or awkwardly cropped if the proportions were changed carelessly.
When resizing is not enough
Sometimes the image dimensions are fine, but the file is still too heavy. In that case, resizing alone will not solve the whole problem. You may also need to compress the image so it loads faster on websites and landing pages.
That is where an image compression tool becomes useful. Resizing changes dimensions. Compression reduces weight. Together, they usually produce the cleanest result for web use.
Choosing the right format after resizing
The export format matters too. JPG is often a practical choice for photos and general web graphics. PNG is better when you need transparency or very crisp edges. WebP is often a strong option for websites because it can keep quality while reducing file size.
If you need to change the format as part of the workflow, an image converter can help you move from one file type to another without reopening everything in separate software.
Common resizing mistakes
Many image problems come from a few repeat mistakes. People upscale tiny images too far, ignore aspect ratio, save in the wrong format, or export a file that is larger than the page actually needs. That creates slower loading and weaker visuals at the same time.
- Do not enlarge a small image too aggressively.
- Do not ignore the aspect ratio unless cropping is intentional.
- Do not upload oversized files when the display area is much smaller.
- Do not assume one size works for every platform.
Resizing works best when it is purpose-driven. The right image size for a product page is not automatically the right image size for a blog header or a YouTube thumbnail.
Final thoughts
Learning how to resize an image online gives you a faster, cleaner workflow across almost every kind of content. It helps your visuals fit better, load faster, and look more intentional wherever they appear.
The smartest approach is simple. Start with the destination, resize to match the real use case, export in the right format, and only then publish. That small habit saves time and prevents a lot of avoidable image problems later.